
RRP Certified Renovator

As an EPA Certified RRP Renovator,

EPA RRP Certification #R-I-99273-20-02281
Lead Safe Certified Since 2020


As an EPA Certified Renovator, I’m trained and required to follow strict lead-safe practices when working on homes built before 1978. That includes using EPA-approved testing methods and safe handling techniques whenever lead-based paint is disturbed.
You’ll get immediate test results, clear communication, and peace of mind knowing your home — and your family — are protected.
Want to know if your home has lead paint? If it was built before 1978 and hasn’t been tested or renovated, it’s worth finding out. I can help with that too.
What is RRP?
RRP stands for Renovation, Repair, and Painting — a federal program regulated by the EPA that focuses on safely working around lead-based paint in homes built before 1978.
Contractors working on those homes must be certified in lead-safe practices to comply with the law and protect homeowners. I’m an EPA Certified Renovator, trained to identify and manage potential lead hazards using approved testing methods, proper containment, and safe cleanup procedures.
The EPA established the RRP Rule to reduce lead exposure during renovation and repair work in homes and child-occupied buildings. It requires all contractors working on pre-1978 properties to be trained and certified, and to follow specific lead-safe work practices during any renovation, repair, or painting activity that disturbs painted surfaces.
Why RRP Certification Matters for Homeowners
Lead paint isn’t something to panic about — but it’s not something to ignore, either.
In homes built before 1978, even small repairs can release dust or chips from lead-based paint. That’s why the EPA created specific rules to protect families during renovation work.
As a certified renovator, I’m trained to contain and control that risk. From testing to cleanup, I handle everything on-site — safely, legally, and with care. There’s no guessing, no passing the buck, and no cutting corners.
Looking for more insight into how lead paint affects your home and project?
Helpful Resources on Lead Safety

How I Set Up a Lead-Safe Work Area
Before I start any renovation involving lead-based paint, I take the time to properly prepare the area. This step-by-step shows the containment process I follow to keep dust contained, surfaces protected, and families safe throughout the job.
Step 1: Pre-Work Evaluation
Every lead-safe renovation begins with a full evaluation of the site. I check both the interior and exterior access points and walk through the scope of work with the homeowner before containment begins.


Step 2: Interior Containment Setup
Plastic sheeting is secured from ceiling to floor inside the work zone. I tape off all edges at the walls, ceiling, and trim using painter’s tape to create a sealed barrier that keeps dust and debris from traveling to other parts of the home.


Step 3: Exterior Containment
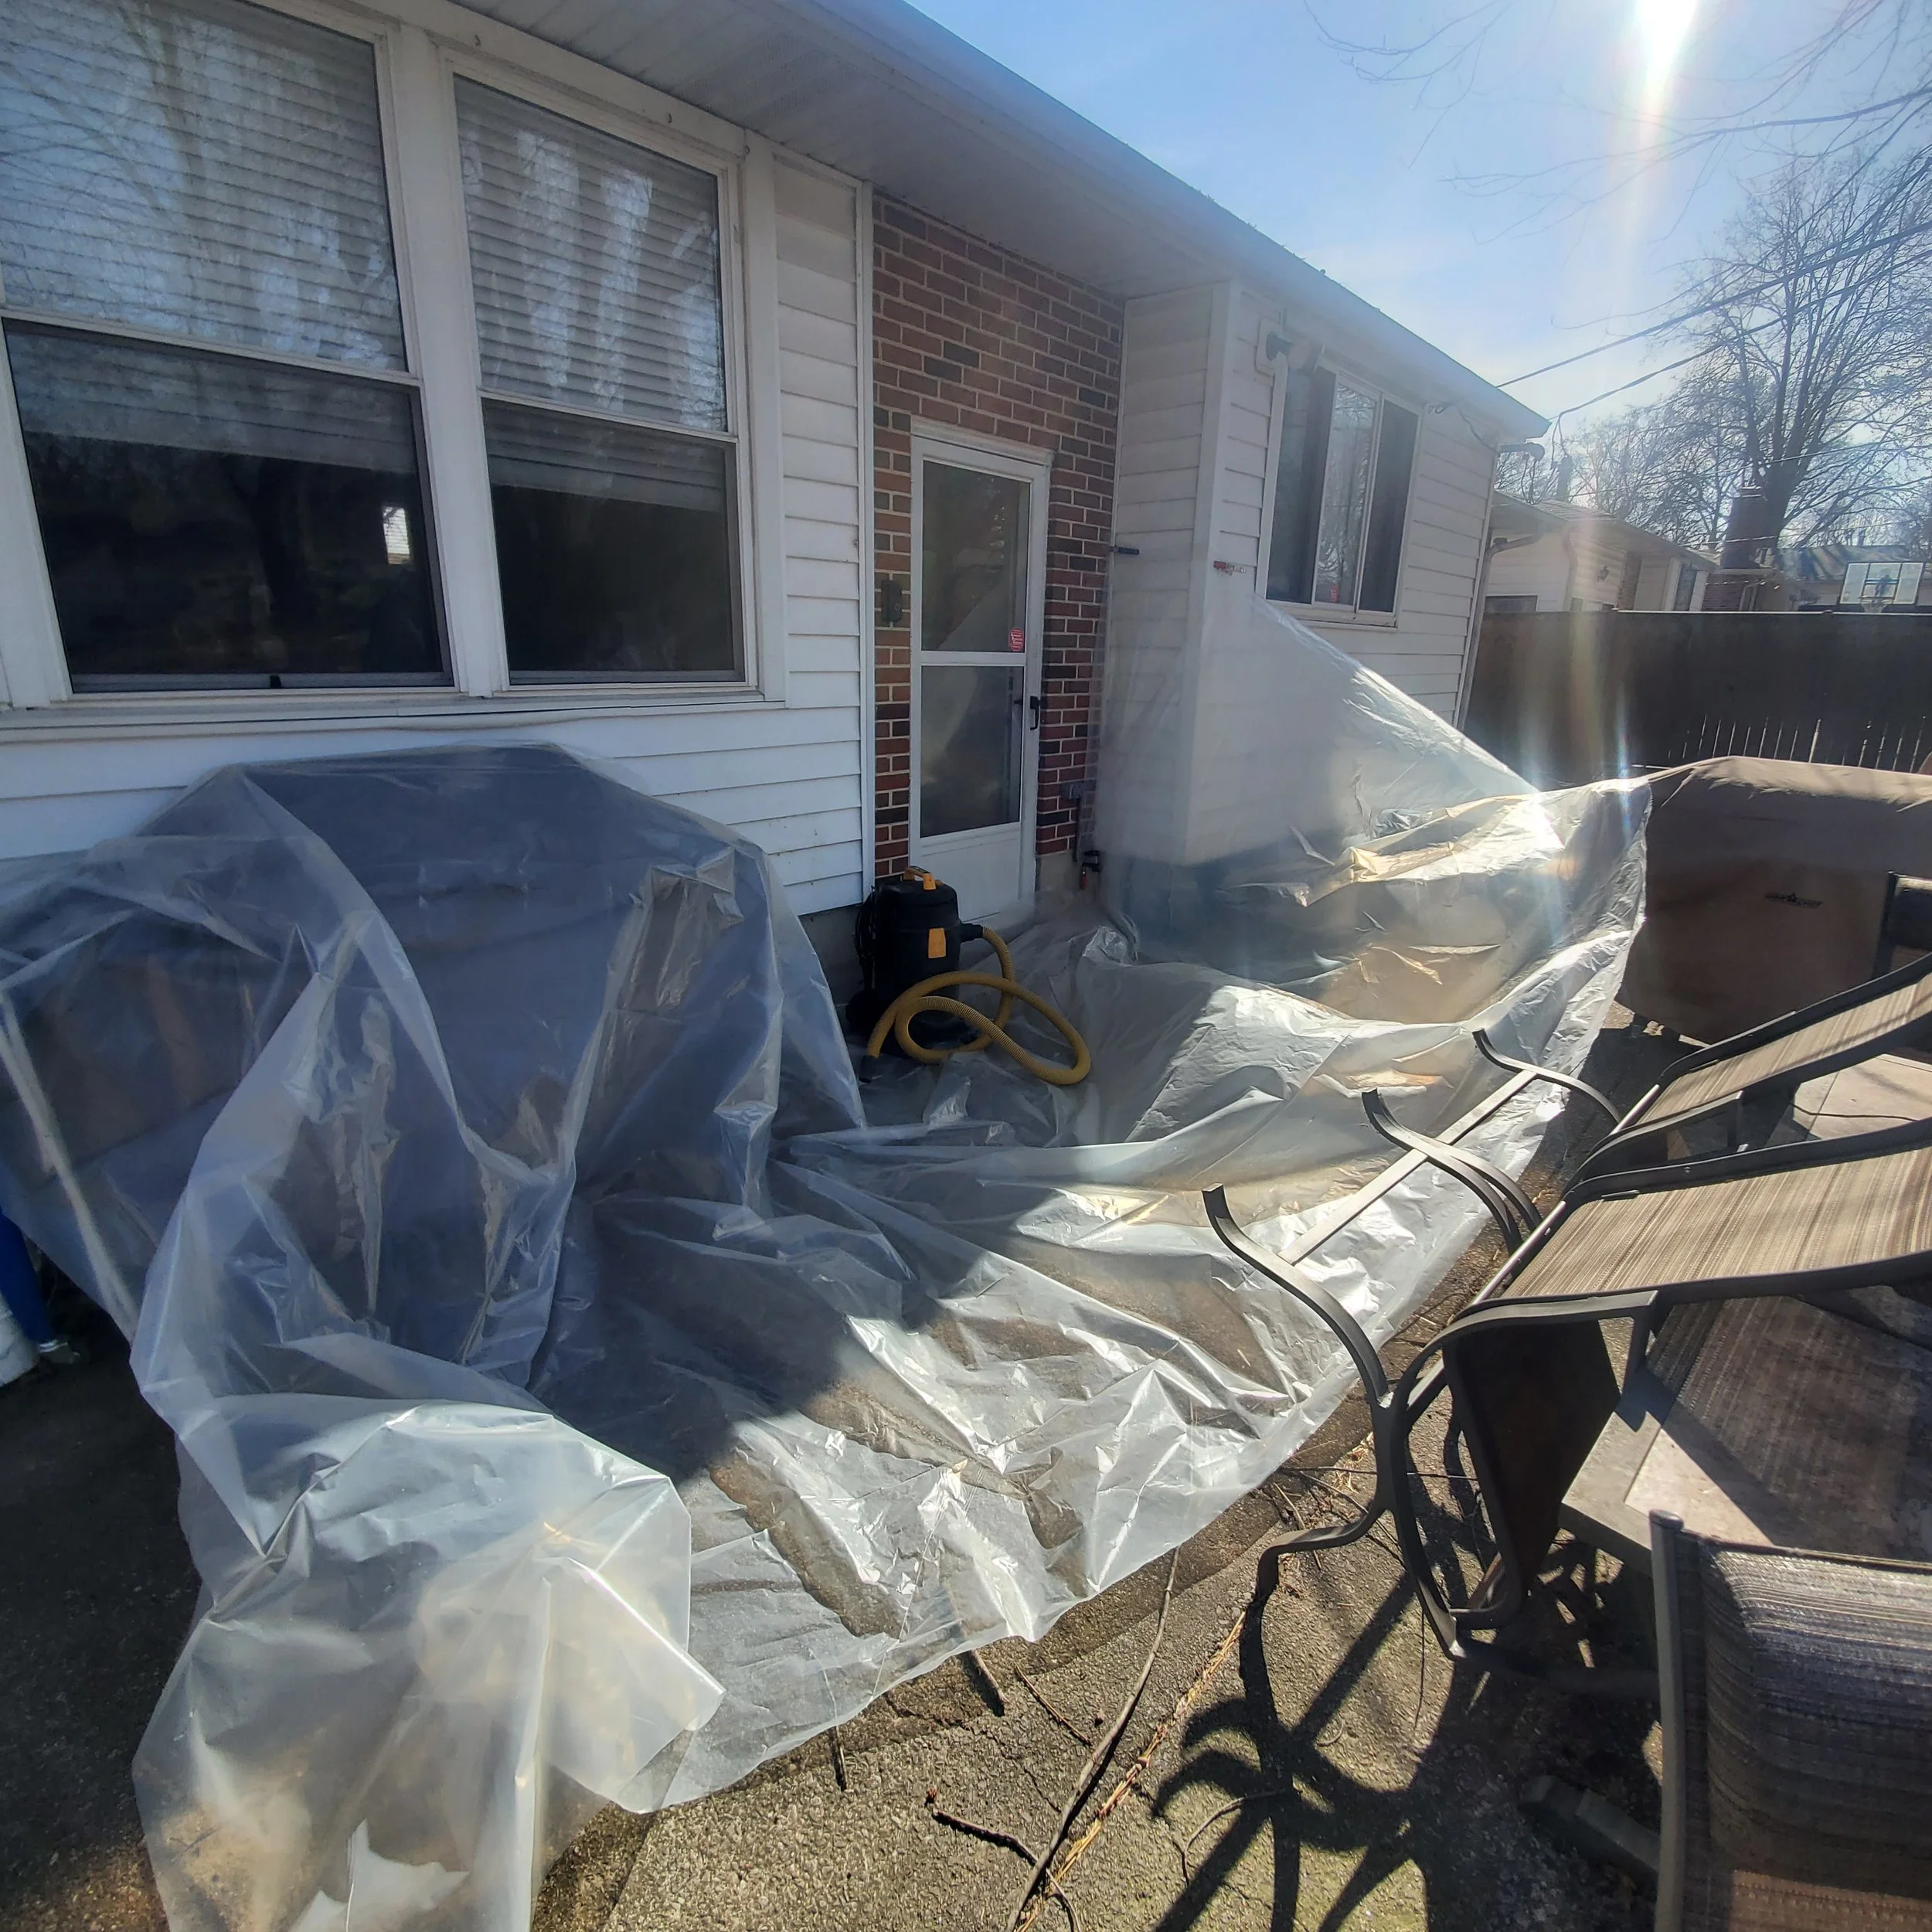
Outside, I lay down heavy-duty plastic that extends at least 10 feet in all directions from the work area. It’s anchored with weights and sealed to the structure to contain any potential lead dust or chips.
Step 4: Site Signage and Certification

To meet EPA regulations, I post a warning sign and display my RRP certification before work begins. This lets anyone nearby know the space is restricted and being handled according to federal safety standards.
Step 5: Safe Work Begins

Once containment is fully in place, I suit up with the appropriate PPE and begin the work using lead-safe methods. I use a HEPA vacuum during and after the job to control dust at every stage, followed by thorough wet-wipe cleaning.
Step 6: Final Cleaning and Inspection
After the primary cleanup, I go over the area again by hand with clean white towels to verify it’s dust-free. Every surface is double-checked to ensure a clean, safe space before containment is removed.

Step 7: Safe Disposal
All materials, plastic sheeting, and contaminated debris are bundled tightly, sealed with tape, and bagged for EPA-compliant disposal. Nothing is left behind, and everything is handled according to regulation.

The Finished Results
Once containment is removed and the space is cleaned, the final installation can can be completed, and allowed to shine. Here's how the project looked after cleanup — safe, sealed, and done right.


Want to learn more before reaching out?
Read my blog post on lead paint and what it means for your renovation →
🛡️ EPA RRP Certified Renovator
Certification #R-I-99273-20-02281
Worried about lead paint? You don’t have to be.
I’ll walk you through the process safely — and make sure your home and family are protected every step of the way.
If you’re planning a project and unsure about lead paint, I offer consultations to help you understand what to expect — and how to move forward safely.
Even if I’m not the one doing the work, I’ll help you ask the right questions and make informed choices.